In the event that a sale has been processed, paid for by EFTPOS and now needs to be voided (funds returned to the customer's bank account for the entire sale), the sale will need to be voided.
Reasons or cases where a sale needs to be voided can include:
Note that if any such issues do occur and you need to rectify the issue on the same day as the transaction took place, the sale will need to be completely voided.
The void sale function will automatically refund the total amount of the transaction back into the customer's bank account.
This also means that after using the Void Sale function to void a sale, the correct items will need to be processed through the POS again and the customer will need to again pay for the required items.
If the customer comes back the following day after the transaction took place to return any items from the transaction, the refund function can then be used instead.
Note that the refund function can only be used after a bank settlement has taken place (which is typically at the end of the day/overnight).
Therefore, the refund function can only be used to refund items any day after the original transaction took place
If your system hasn't already been configured to support this function, you may need to complete the steps outlined in "Enabling First American Void Sale" listed below.
If your system is already configured for this function, you may skip ahead to "Using the EFTPOS Reversal button to void a sale".
In order to use the Void Sale function, an EFTPOS Reversal button needs to be created on the Idealpos POS screen.
Go to: Setup > POS Screen > POS Screen Setup > Select: POS Screen layout > Buttons
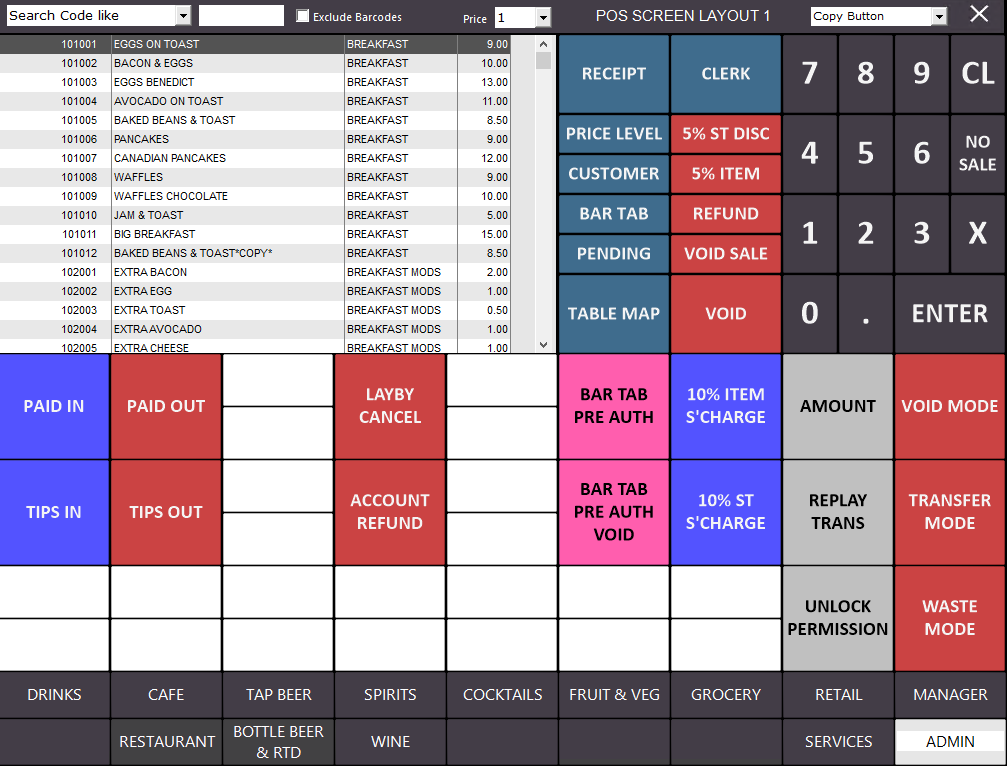
The selected POS Screen layout will be displayed.
You may need to switch to another tab to find an available/blank button which can be assigned to the "EFTPOS Reversal" function.
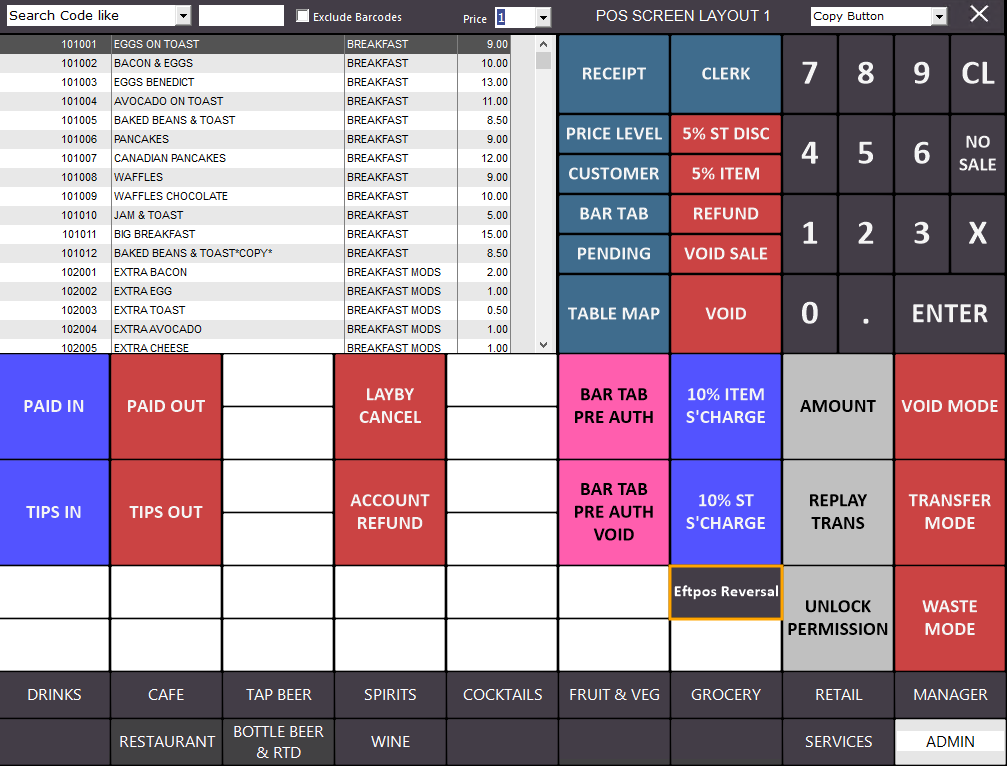
In the below example, the "Admin" tab has been selected
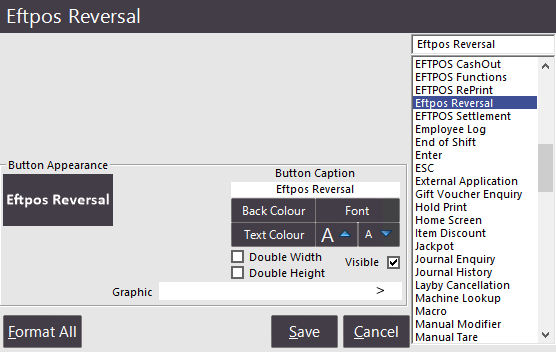
Select a blank button by clicking on it, then select the "Eftpos Reversal" function from the list of available functions.
Note that the Eftpos Reversal function will only be displayed on POS Terminals which have First American EFTPOS included in their licence.
You may also want to adjust the colour and format of the button.
The customisable elements of the button are:
Once the desired options have been selected for the button, press the "Save" button to save the changes.
The button will now appear on the POS Screen.
You may now close all POS Screen layout windows.
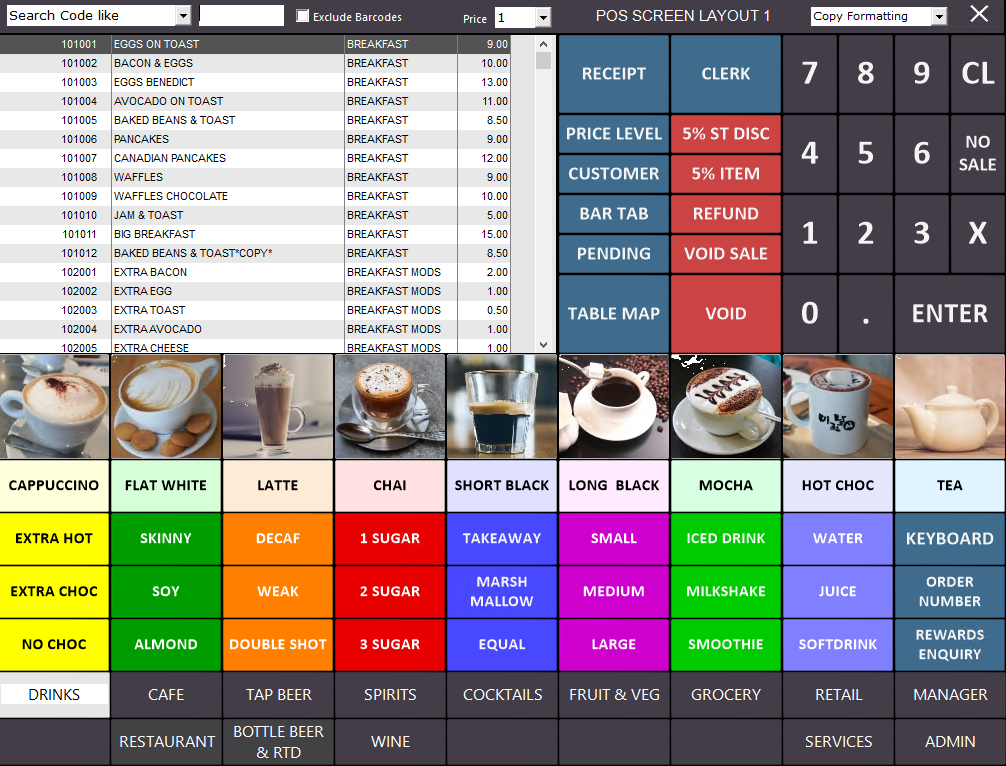
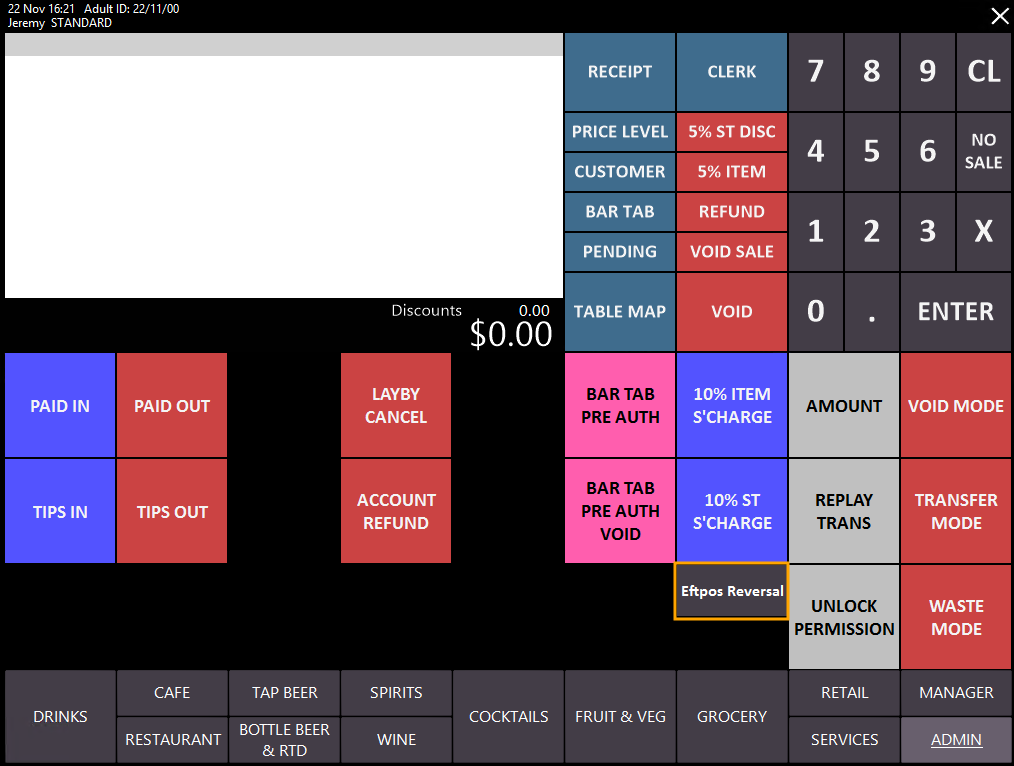
Switch to the tab which the Eftpos Reversal button was created on (Admin in the below example), then press the Eftpos Reversal button.
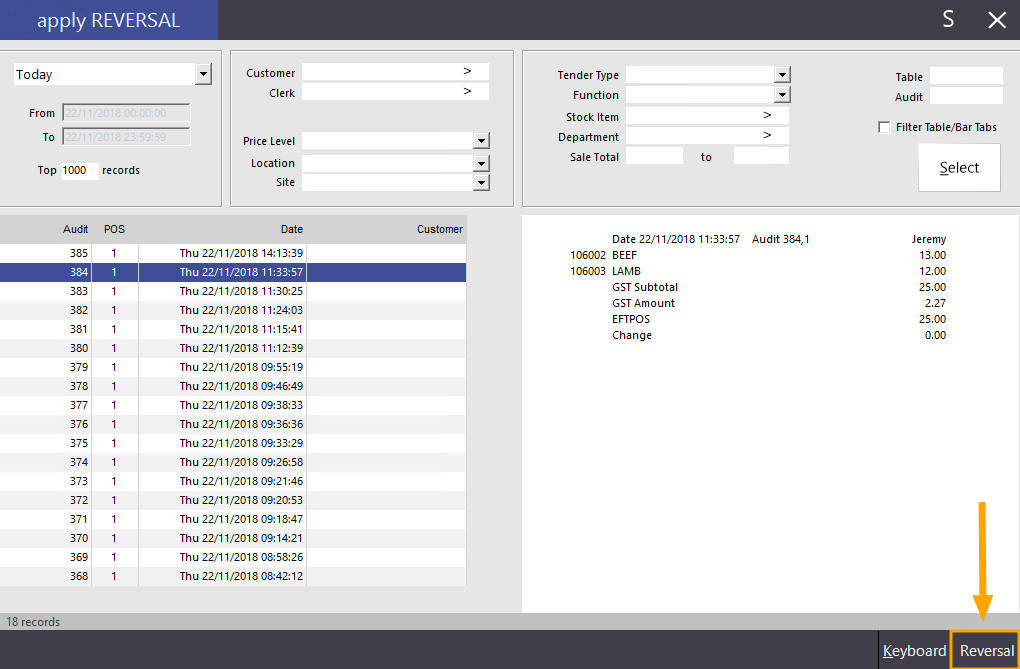
The "apply REVERSAL" window will be displayed and will contain a list of transactions that occurred today.
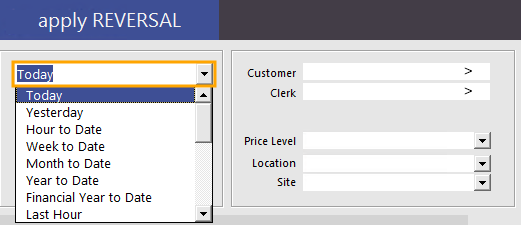
If the transaction occurred on a day other than today, you can select the date from the dropdown box on the top left corner of the "apply REVERSAL" window as indicated below.
Select a transaction to view the items contained within the transaction.
You can continue to click through the transactions until you find the desired transaction.
Once the desired transaction has been selected, press the "Reversal" button located on the bottom right corner of the "apply REVERSAL" window.
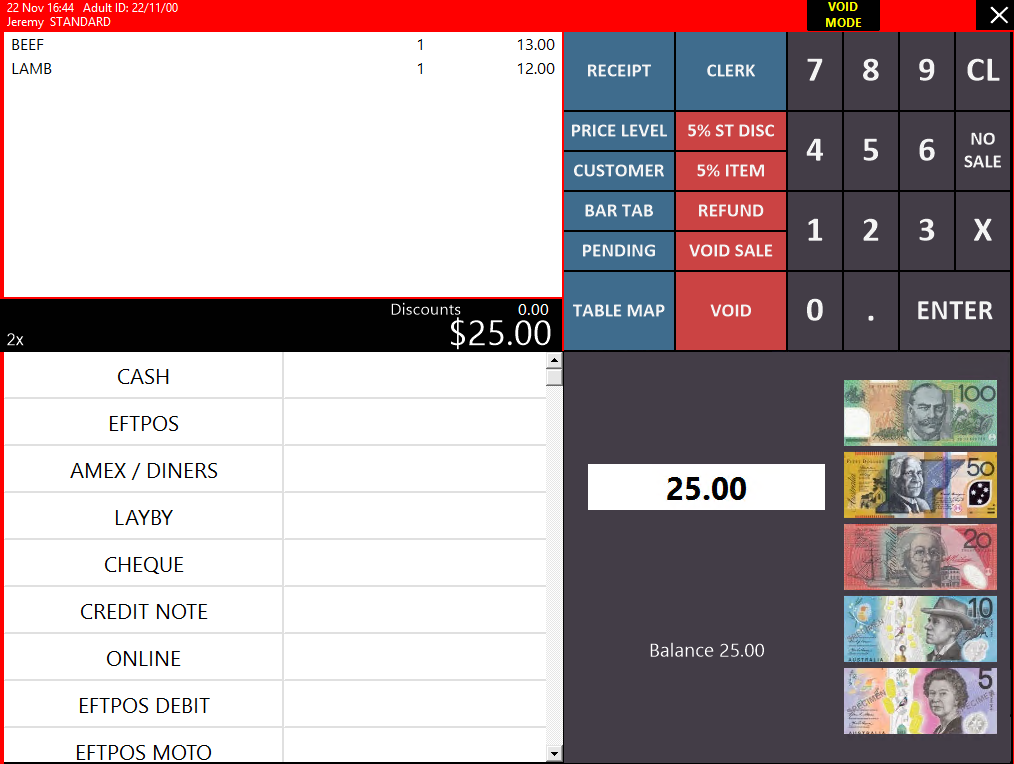
After pressing the "Reversal" button, the POS screen will be displayed with "VOID MODE" on the top right corner.
The items from the selected transaction will also be displayed along with a total amount.
Select the required EFTPOS tender which the amount should be voided back to.
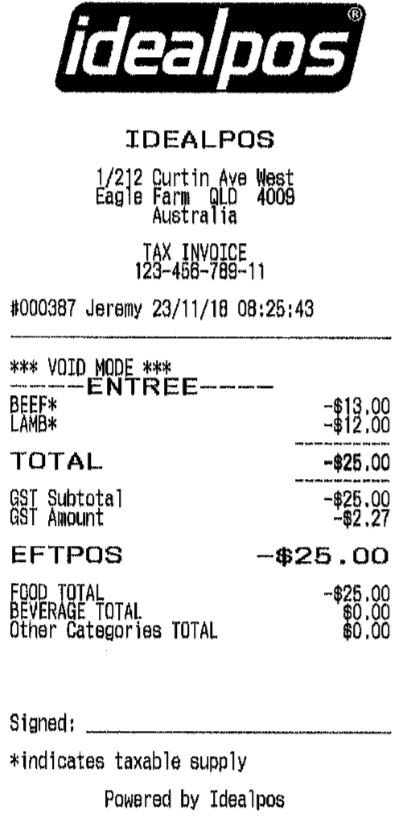
The receipt printer will print out a Void Mode receipt to indicate that the transaction was successful.